
Ratatouille
Java mod listed for Minecraft 1.21. Downloads from the MC Java Mods app on Android.
⬇ Download on Modrinth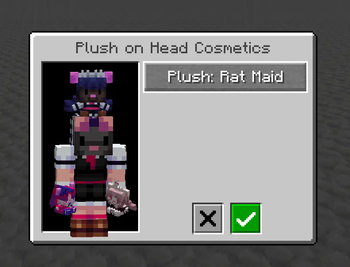
Ratatouille


A library for doctor4t's mods and supporter cosmetics
Features
Library
- Rendering utils derived from Lodestone (by Sammy; and Lodestar, removed with 1.21.1)
- Cosmetics customization util: Made for my supporter cosmetics but can also be used out of the box for more general cosmetic mods who need simple customization
- Item custom hit sound and particle utils
- First person feature rendering util: Allows adding features that render on the player's hand in first person by implementing the
RendersArmInFirstPersoninterface in your feature renderer. - Custom model armor util: Allows adding armor with custom models with a single method call (and custom model), bypassing the requirements of making a model layer, feature renderer, mixins to inject said feature renderer into player and armor stand rendering, coding display conditions, etc... as well as automatically display said custom armor on a player's hands in first person. A usage guide can be found further down.
Additional Goodies
- RAT Plushies (Rat Maid, Folly and Mauve)
- Can be honked
- Noteblocks can be placed on top to play the plush's honk sound as the instrument
- Mobs can be given items and armor by interacting with them while in creative and sneaking with an item in hand. Hitting them in creative while sneaking with an empty hand will make them drop all their equipped items.
Supporter Cosmetics
- For Ko-Fi or YouTube members
- Icon next to your name as well as colored name
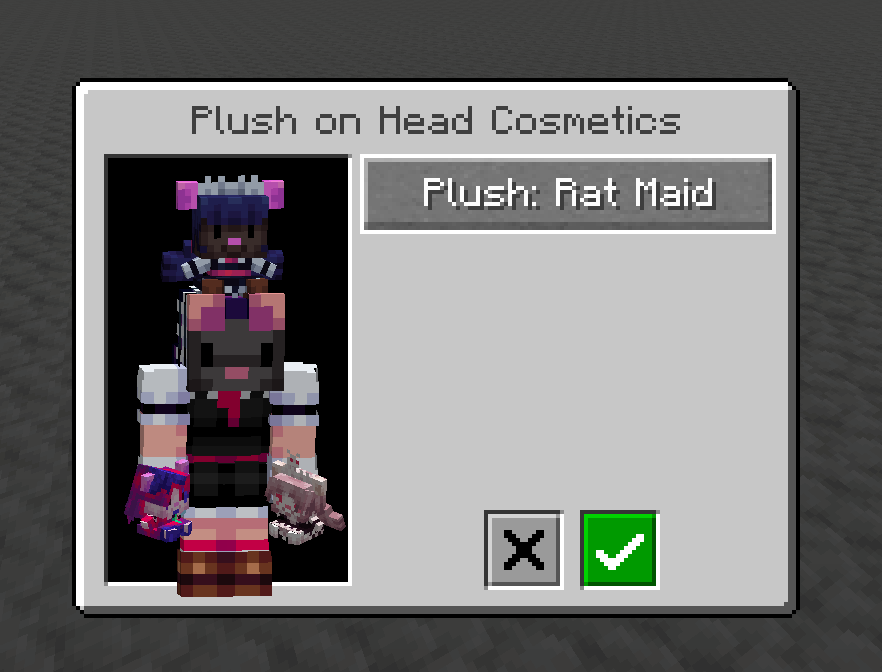
- Head plushies: Sneak-use any plush item while not aiming at a block to open the cosmetics screen
Gallery
Expand gallery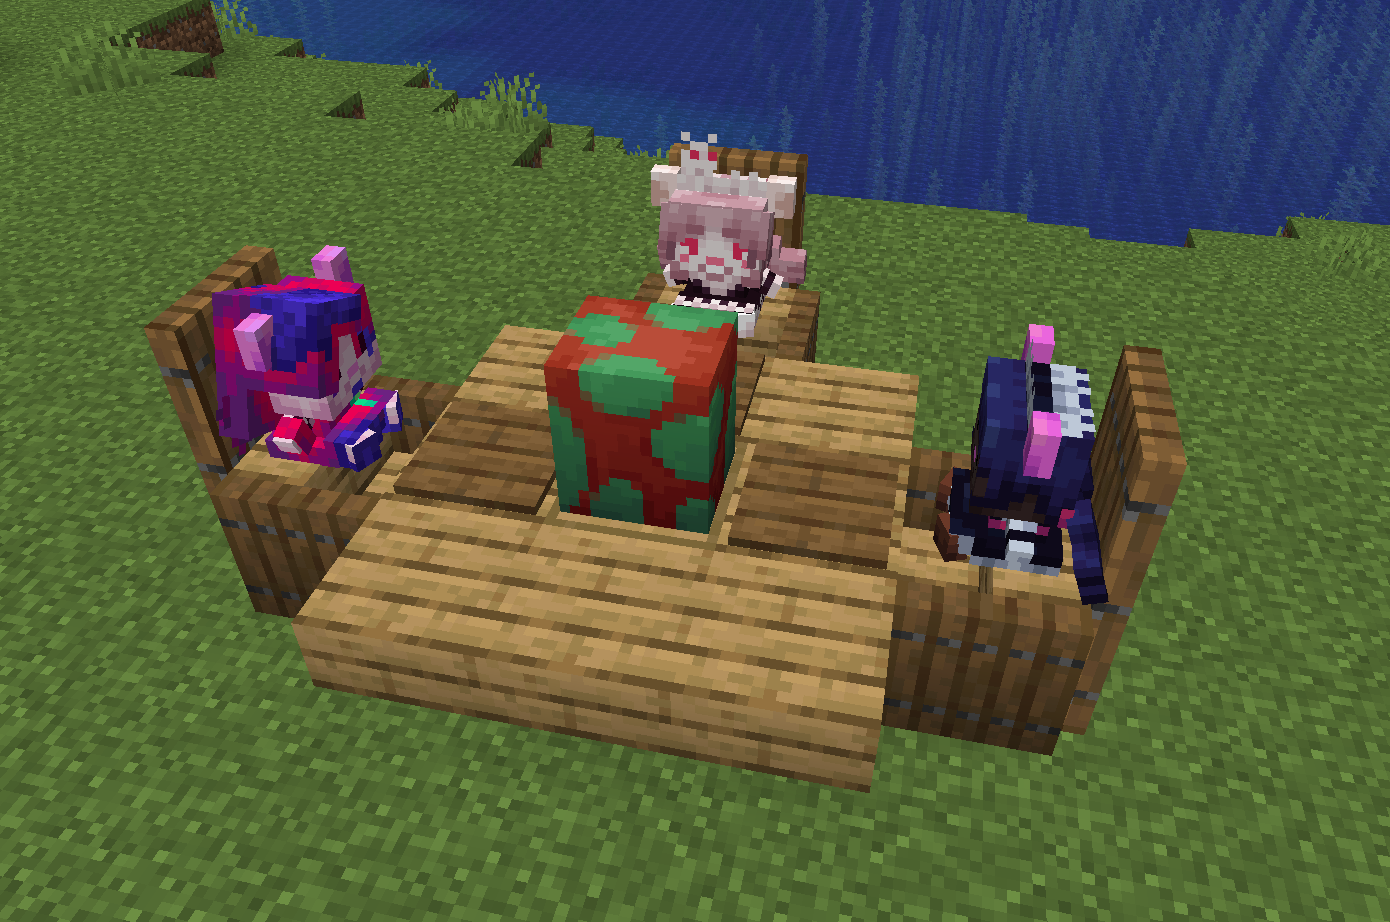
Documentation
Expand documentationSetup (build.gradle)
Expand Gradle detailsrepositories {
maven {
name = 'Ladysnake Mods'
url = 'https://maven.ladysnake.org/releases'
}
dependencies {
modImplementation "dev.doctor4t:ratatouille:${project.ratatouille_version}"
}
Custom model armor util
Expand Custom model armor util detailsThis util allows you to easily register new armor sets that use a custom model with a single method call (and that custom model as the game does need to know what you wish to render).
Step 1: Defining the model
Before we can add our custom armor, we need a model that respects a few rules. You can find an armor template model (Blockbench model file) and texture in the RESOURCES folder of the repository. While you can edit this model and texture freely in order to shape up the armor of your dreams, please note that the existing groups are very important and while you can add new sub-groups to them, you cannot and should not delete any existing group as they allow the library to know what should be displayed when a player (or armor stand or mob) dons armor pieces:
helmetdisplays when the helmet item is equippedbody_chestplate,right_arm_chestplateandleft_arm_chestplatedisplay when the chestplate item is equippedbody_leggings,right_leg_leggingsandleft_leg_leggingsdisplay when the leggings item is equippedright_leg_bootandleft_leg_bootdisplay when the boots item is equipped
Once you have finalized your model, you can export it with Blockbench: File -> Export -> Export Java Entity. Open the generated Java class and copy the lines between ModelPartData modelPartData = modelData.getRoot(); and the line right before the return (included) in getTexturedModelData(). Ratatouille adds a new model class type that simplifies armor model definition called CustomArmorModelDefinition; extend that class and implement the addModelParts method by pasting the snippet you copied from the generated model class. Then implement getTexture(); the simplest way to do so is to have a static Identifier for your armor texture in your Model Definition class and return that, but if you wish to do a special logic that varies the returned texture you can naturally do so as well.
Step 2: Registering the custom armor with Ratatouille
The second - and last - step is to register your custom armor rendering in your client initialization. Call CustomModelArmorUtil.registerCustomArmor and give it the required parameters:
Identifier id: The id of the custom armor. This is used in order to automatically generate and register the model layer of your armor, it should therefore be unique.ArmorDisplayConditions displayConditions: The display conditions that need to be met for your armor parts to render. If you want a simple armor that displays its parts for each item you equip, theItemSetDisplayConditionsallows you to define the helmet, chestplate, leggings and boots items and will automatically check which armor items are equipped and need to be displayed, as well as prevent the rendering of the vanilla armor model with a missing texture. If you wish to have a custom logic for displaying different pieces that is not just checking whether the item is being worn, you can implement theArmorDisplayConditionsand its fourshouldDisplaymethods.CustomArmorModelDefinition armorModelDefinition: The model definition we created in Step 1, simply create a new instance of it.int textureWidth, int textureHeight: The armor's texture width and height.
Registering your armor through this method call will take care of everything for you, like creating the textured model data, model layer and appending the feature to the player / armor stand / mob renderers. If you need to access the model data or model layer of the armor, you can find them in the CustomModelArmorUtil.CUSTOM_ARMOR_MODELS HashMap by using the armor's displayConditions as the key.
Ambience util
Expand Ambience util details This util allows you to easily register ambient loops as general background audio or block entity dependant audio.Registering background ambience
To register a background ambience, all you need to do is call the AmbienceUtil.registerBackgroundAmbience method in your client initializer class and give it a new BackgroundAmbience object with the required parameters:
SoundEvent soundEvent: The ambient loop sound to play.SoundCategory soundCategory: The audio category to play the sound in.PlayPredicate predicate: The predicate determining whether the sound is allowed to play or not. Takes aClientPlayerEntityand must return a boolean.int fadeIn: The fade-in time of the ambient loop when it starts playing (in ticks).int fadeOut: The fade-out time of the ambient loop when it stops playing (in ticks).
Registering Block entity ambience
To register a block entity ambience, all you need to do is call the AmbienceUtil.registerBlockEntityAmbience method in your client initializer class and give it the BlockEntityType<? extends BlockEntity> that should play said ambience and a new BlockEntityAmbience object with the required parameters:
SoundEvent soundEvent: The ambient loop sound to play.SoundCategory soundCategory: The audio category to play the sound in.PlayPredicate predicate: The predicate determining whether the sound is allowed to play or not. Takes aBlockEntityand must return a boolean.int fadeIn: The fade-in time of the ambient loop when it starts playing (in ticks).int fadeOut: The fade-out time of the ambient loop when it stops playing (in ticks).
- Edition: Minecraft Java
- File type: .jar
- Minecraft version listed: 1.21.1
- How to install: Install the matching mod loader (Forge, Fabric or NeoForge) for your Minecraft version. → Download the .jar. → Put it in the .minecraft/mods folder and launch that loader profile.
- Where to get it: Opens on Modrinth — not every file is mirrored on our own servers.
Install steps are the general flow for this file type — How to install Minecraft Java mods & modpacks walks through it step by step.
- Ships as ratatouille-1.4.3-1.21.1.jar — drop this file into the mods folder
- Download size: 919 KB
- Download link checked 7 Oct 2026 — working
These come from our own check of the pack file, not from the source page.