Glass+
All kinds of glass customisation possible in one pack! Change modes by changing the subpacks!
🖼️ Images -
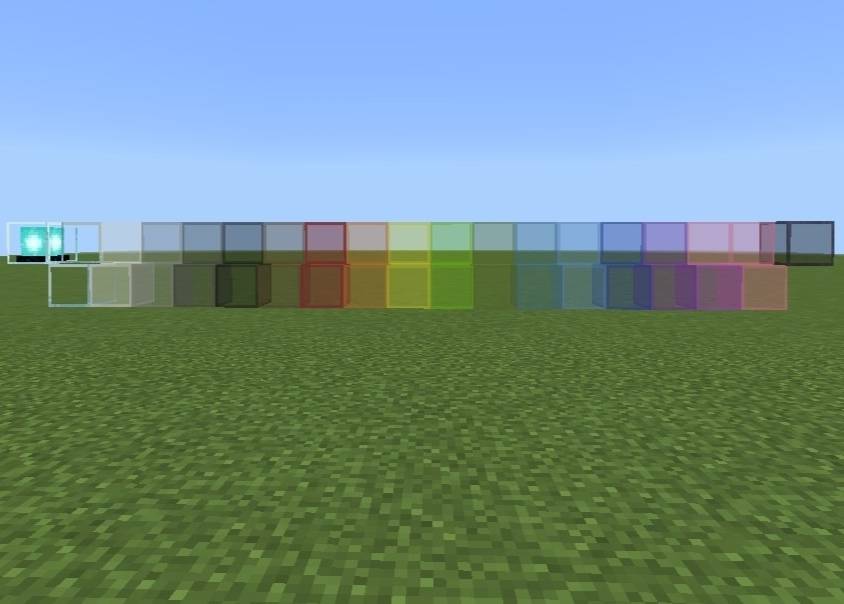
Clear Glass subpack ^
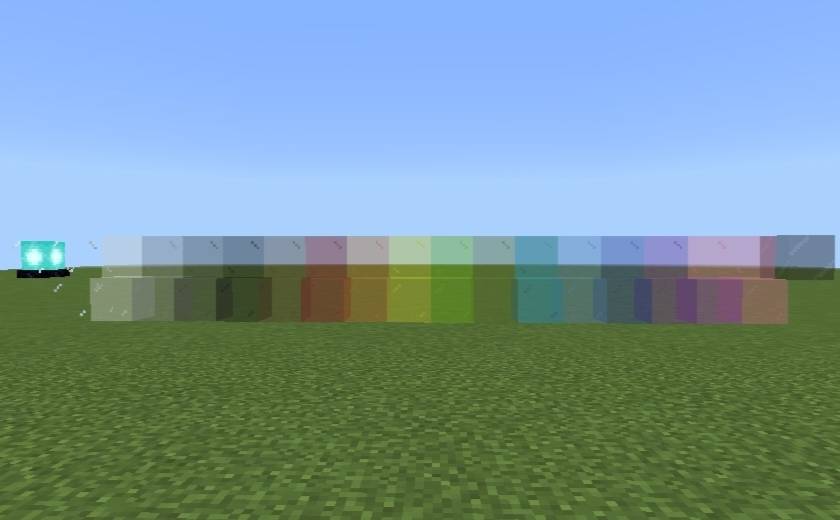
Borderless Glass subpack ^
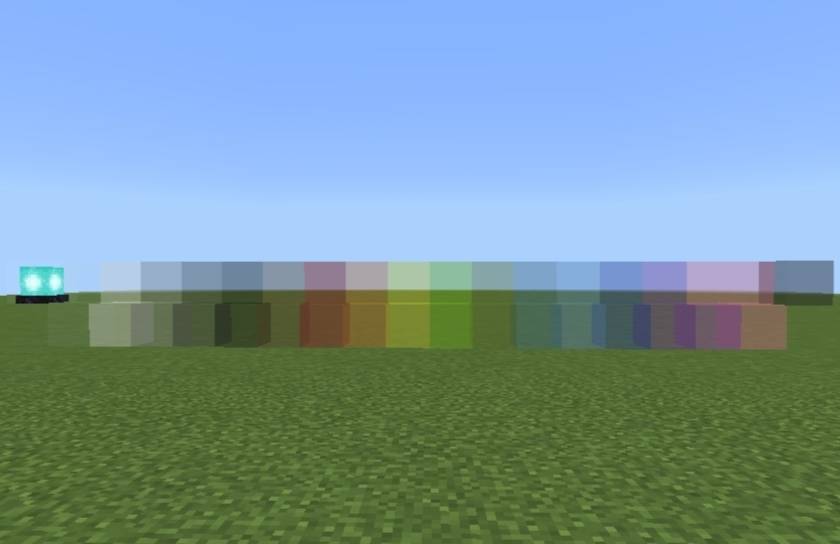
Clear + Borderless Glass subpack ^
❓ How to use?
1. Import the .mcpack file in Minecraft.
2. Activate it in Global Resources, World Resources Packs, Realms or Servers.
3. Click on the pack after activating the pack.
4. Click the small "⚙️" button.
5. Select the mode you want - Clear Glass, Borderless Glass or Clear + Borderless Glass; using the slider.
6. Hop onto the world. The pack will be activated!
⚠️ If you don't see any change in the pack try doing these -
- Restart Minecraft.
- Try deactivating & activating the pack again.
Quick facts
- Edition: Minecraft Bedrock
- File type: .mcpack
- Minecraft version listed: 26.30
- How to install: Download the .mcpack. → Open it — Minecraft imports it under Resource Packs. → Activate it in Global Resources, or for one world under Resource Packs → Available.
- Where to get it: Opens on CurseForge — not every file is mirrored on our own servers.
Install steps are the general flow for this file type — How to install Minecraft Bedrock texture packs walks through it step by step.
Verified by MCModsHub
- Save it as Glass+_v1.0.0.mcaddon before opening — it downloads as .mcpack, but it is a .mcaddon pack
- Manifest requires Minecraft 1.26.30 or newer
- Complete pack — everything it depends on is inside the file
- Download size: 76 KB
- Download link checked 30 Aug 2026 — working
These come from our own check of the pack file, not from the source page.